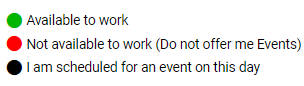
Availability
By default the NAE schedule will always be in green, indicating ready to receive Event Offers. To avoid getting offers when you have other obligations, mark the dates as Unavailable by following the steps below. Best Practice: Update the calendar for schedule availability 2-3 months ahead.
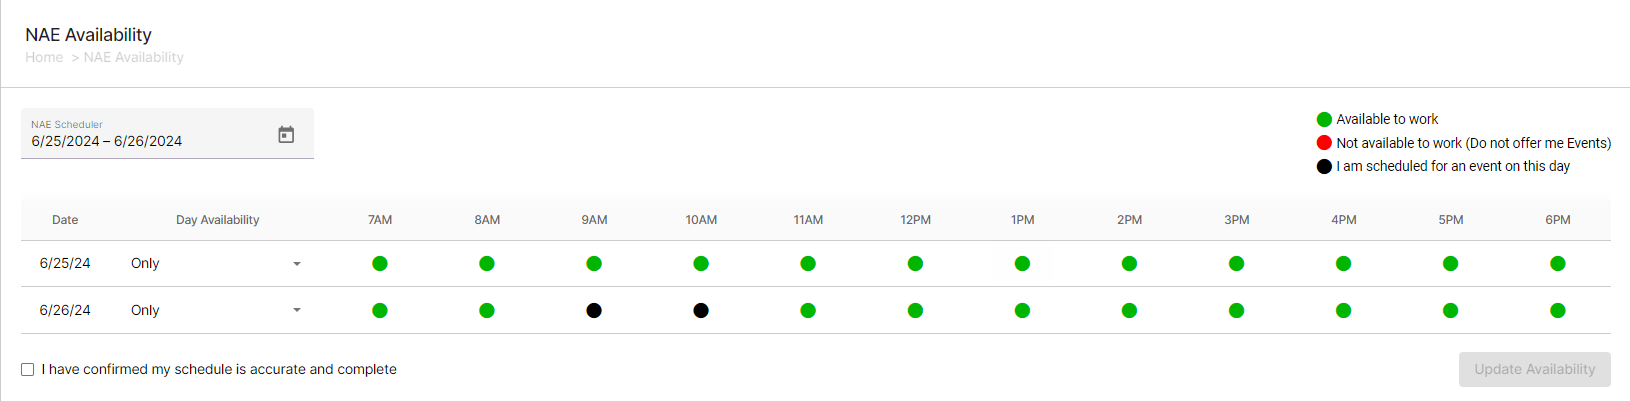
NAE Availability window allows you to schedule your availability for the event. You can update your availability for the selected date and time. Based on your availability, the operation staff will send you the notification of Event Offers.
Schedule Availability
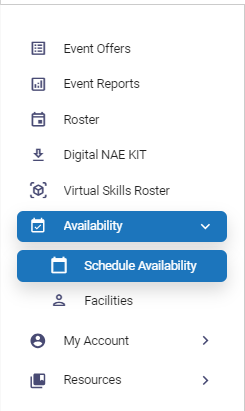
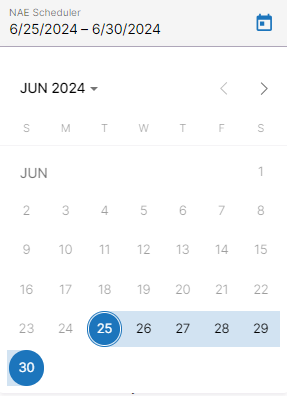
In the left-side navigation menu, select Schedule Availability from the dropdown to load the Schedule Availability page.
The Availability page allows you to update your availability at your convenience. You can make multiple selections to add your availability.
The following provides you with the Schedule Availability page functionality.
| Field or Icon | Description |
 | Click select the required date you want to update. |
| Date | This field displays the date information. |
| Day Availability | This field allows you to update your availability by editing the color code. |
Scheduling NAE Availability
To update your availability, follow these steps:
- In the left-side navigation menu, select NAE Availability from the dropdown.
- Click the Calendar icon and select the required dates you want to update availability.
NOTE: You can select multiple dates to update your availability. - Once the dates are selected, click Day Availability and select the required options from the dropdown:
- Select Only to add or change your availability between the hours.
- Select Available to indicate that you are available for the entire day.
- Select Not Available to indicate that you are not available for the entire day.
- Select the check box corresponding to I have confirmed my schedule is accurate and complete.
- Click Update Availability.
- A message confirming the Schedule saved successfully appears.
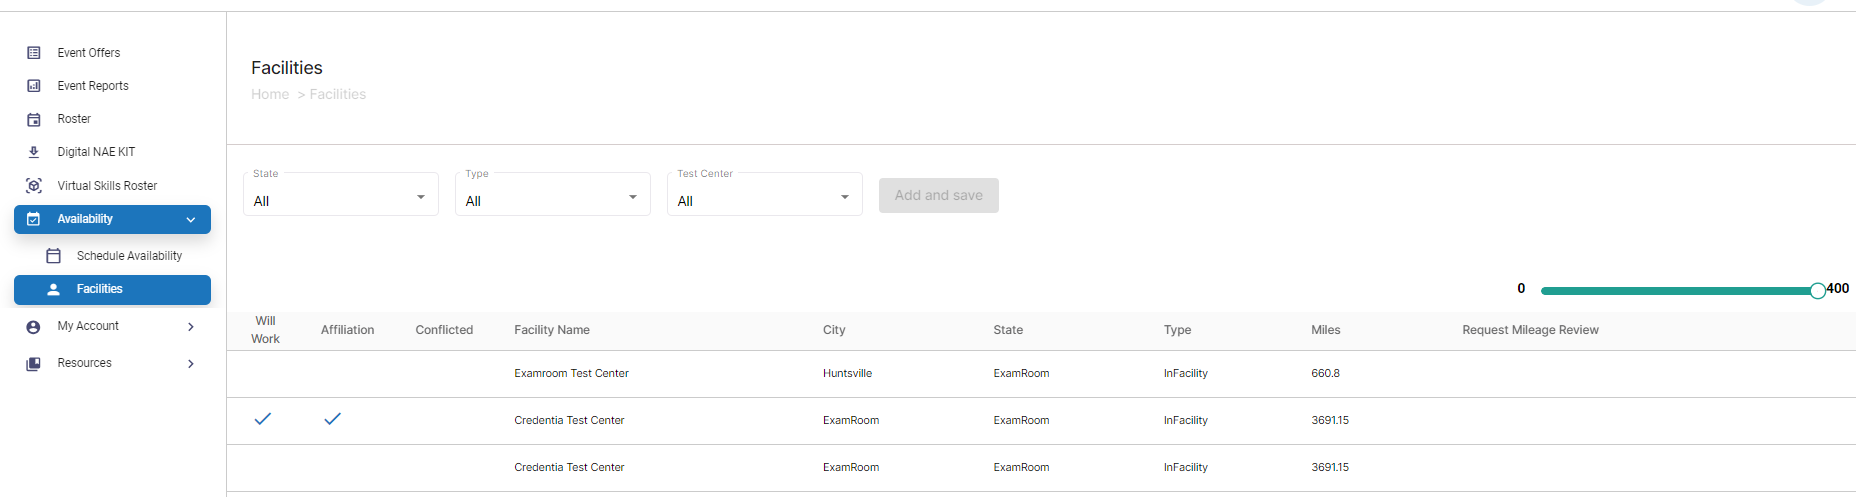
Facilities
The Facilities window allows you to update your interest in working or not working at test sites. If you are not willing to work at any of the test centers, you can select that test center and update the reason for not being interested. You will not receive the Event Offer notifications for the selected test centers where you are not willing to work.
NOTE: It is not mandatory to update your interested test centers in Facilities. If you are willing to work, you can update the test centers.
Adding Facilities
To update the Facilities, follow the below steps:
- In the left-side navigation menu, select Facilities from the dropdown.
- In the Facilities page, click State and select the state from the dropdown.
- Click Type and select the required type of test center from the dropdown.
- Click Test Center and select the required test center from the dropdown.
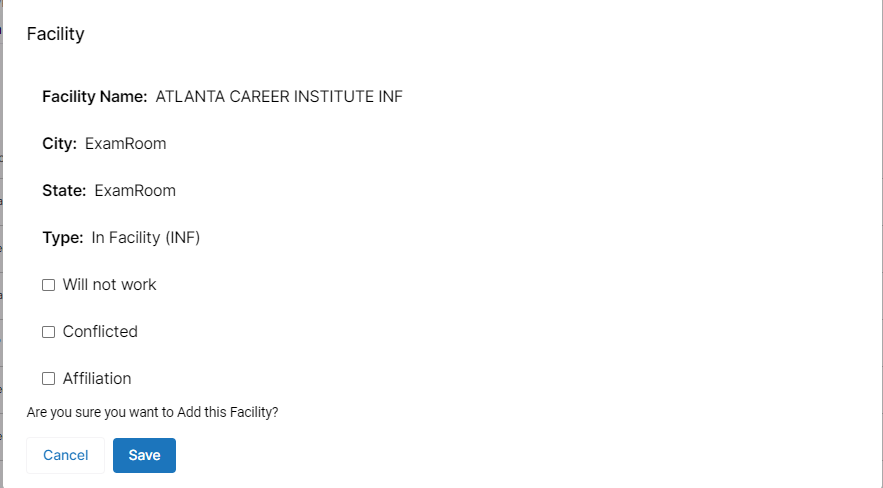
- After selecting all the required fields, click Add and Save to add the facility.
- Check and confirm that all the entries added are correct.
- Select the required check box:
- Select Will not work; if you do not want to work in that test center and are not willing to provide reason.
- Select Conflicted; if you do not want to work in that test center enter the Reason.
- Select Affiliation; if you do not want to work in that test center, then select Current or Previously from the dropdown and enter Reason.
- If no checkboxes are selected, it means you are willing to work at that test center.
- Click Save to add the facilities.
OR
Click Cancel to exit the page.